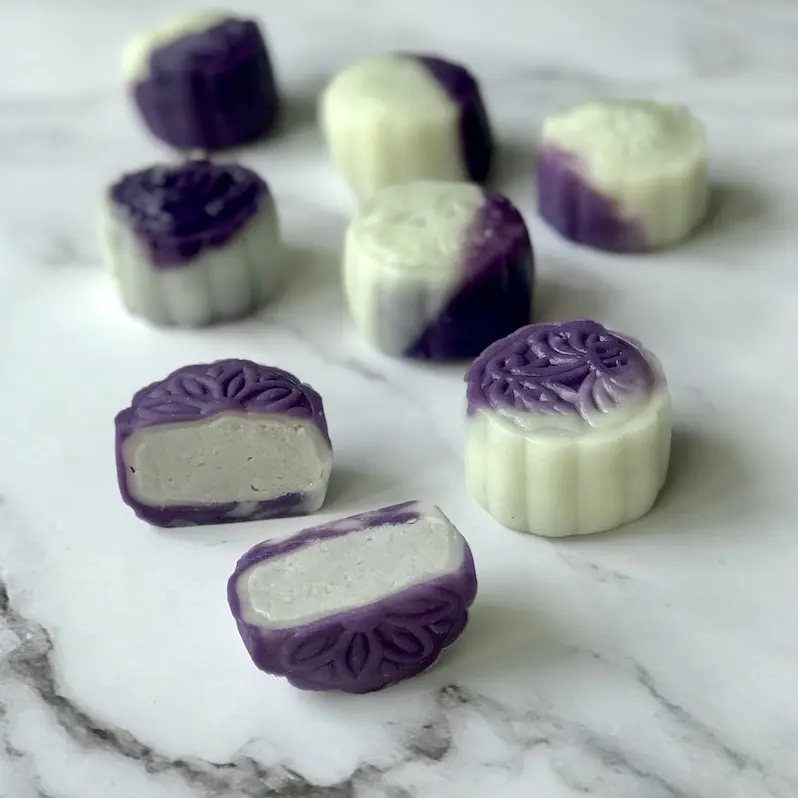
Taro Snow Skin Mooncake
Part A. Make the Filling
200g frozen taro, thawed & cut into 2cm chunks
70g caster sugar
2T cornflour
2T coconut milk
1T cornflour
1. Steam taro for 30mins or until fully cooked through.
2. Place cooked taro in a med bowl and mash. Add the rest of the ingredients and mix together. Push through a fine sieve to remove any lumps.
3. Cover with cling film and place in the fridge to chill and set.
Part B. Make the Snow Skin
40g glutinous rice flour
40g rice flour
20g wheat starch
20g caster sugar
150g full cream milk
20g canola oil
A drop of ube/purple food colouring
4. Add flours, wheat statch, sugar and milk into a heatproof bowl. Whisk until smooth then cover the bowl with cling film. Steam for 20mins or until the centre is fully set.
5. Remove bowl from the steamer and discard the cling film. Add in oil and carefully work it into the mix.
6. Break off 1/3 of the dough and add food colouring. Knead the colour through then divide into 10 even portions. Divide the white dough into 10 even portions.
7. Pair one portion of purple dough with one portion of white dough. Continue until you have 10 pairs of purple and white dough. Cover with cling film and allow to cool completely.
Part C. Make the Snow Skin Mooncakes
8. Divide the prepared taro filling into 10 equal portions and form into balls.
9. Grab one blue and white dough combo. Form into a ball and roll into a disc. Wrap the disc around a taro ball and seal completely. Shape using the mooncake mould. You can use a little cornflour if you’re finding the dough a little sticky.
These mooncakes are best enjoyed on the day they are made.
PS: If you don’t have mooncake moulds, you can just present these sweet treats as taro and coconut filled mochi balls! Go one step further if you want to unleash you inner creative skills … shape the mochi balls into cute figurines like bunnies, kittens, hedgehogs etc by using a small pair of pointed sharp scissors to snip in ears and spines.
 Fruit & Vegetables
 Meat
Meat Bakery
 Egg & Dairy
 Rice, Rice Paper & Noodles
 Pantry
 Snacks & Confectionary
 Dessert Ingredients
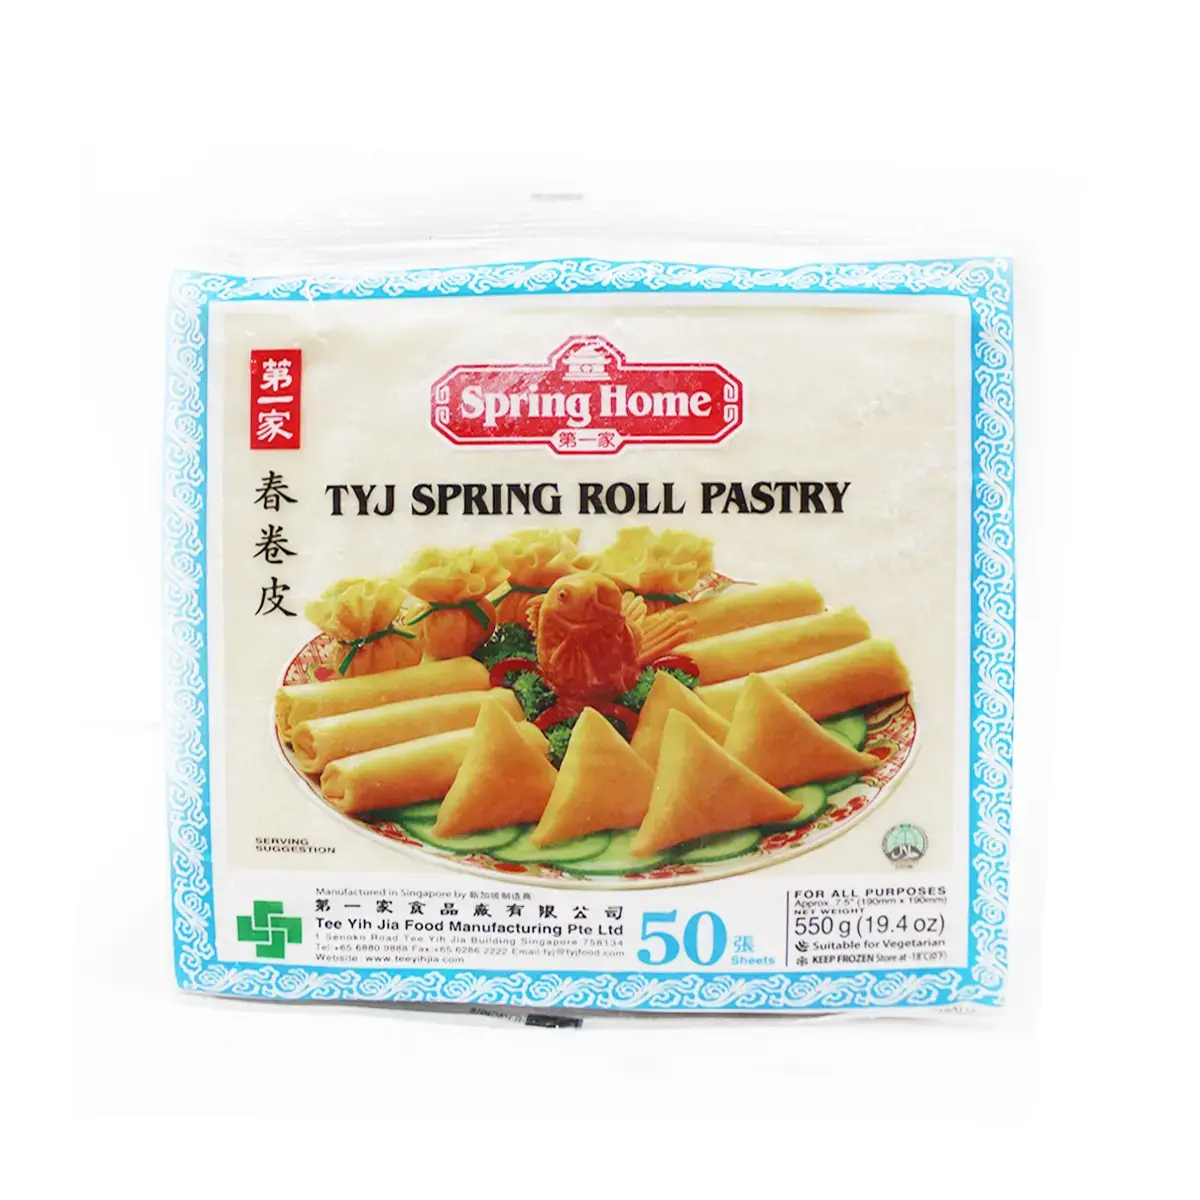 Refrigerated & Frozen
 Drink
Drink Korean/ Japanese
 Household
 Bulk/ Wholesale