Fruit & Vegetables
 Meat
Meat Bakery
 Egg & Dairy
 Rice, Rice Paper & Noodles
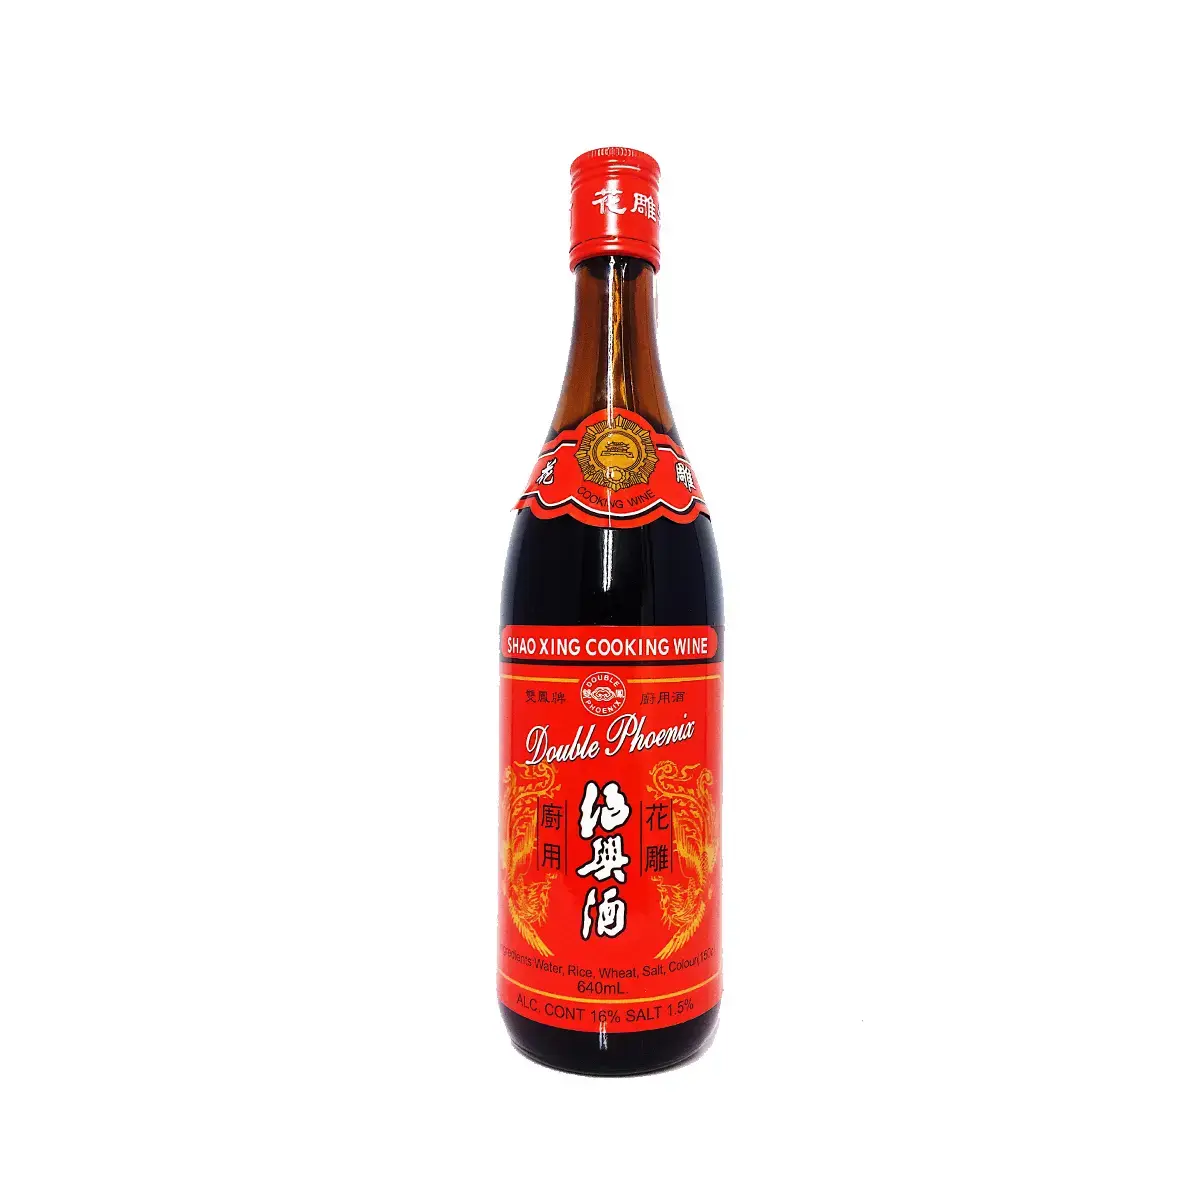 Pantry
 Snacks & Confectionary
 Dessert Ingredients
 Refrigerated & Frozen
 Drink
Drink Korean/ Japanese
 Household
 Bulk/ Wholesale
Che Thai
Posted on 27 Feb, 2024

Serves 12-15
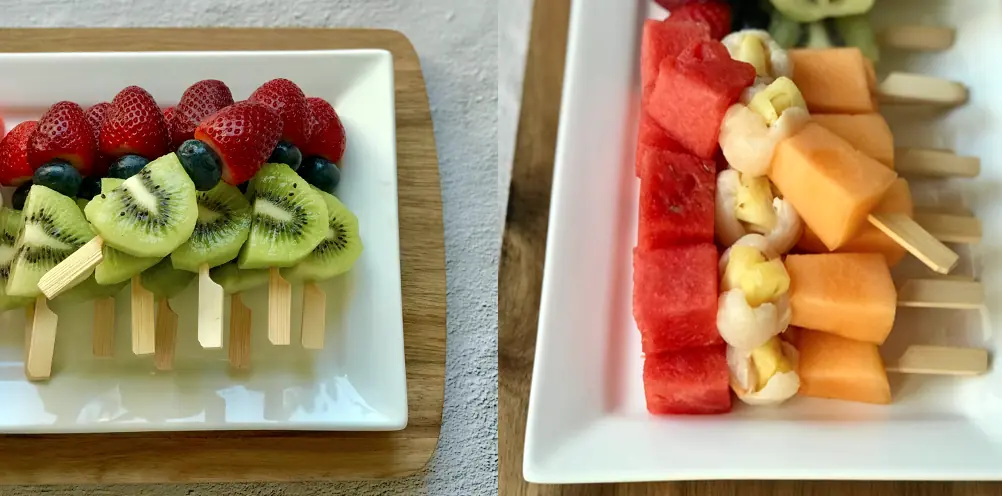
Make the Red Rubies
- Bring a medium pot of water to the boil.
- Meanwhile, add the chopped water chestnuts to a medium sized zip lock bag. Add food colouring then mix to colour the chestnuts. Add tapioca floor. Seal the bag then toss to coat all the chestnuts with the tapioca starch.
- When the water is at a raging boil, slowly pour in prepared chestnuts, dispersing them in the water to avoid clumping. The red rubies will rise to the top when cooked. Allow them to continue to bubble for a couple of minutes before draining/scooping out into a colander. Rinse with cold running water to remove any excess starch and colouring. Add cooked red rubies to a bowl of iced water.
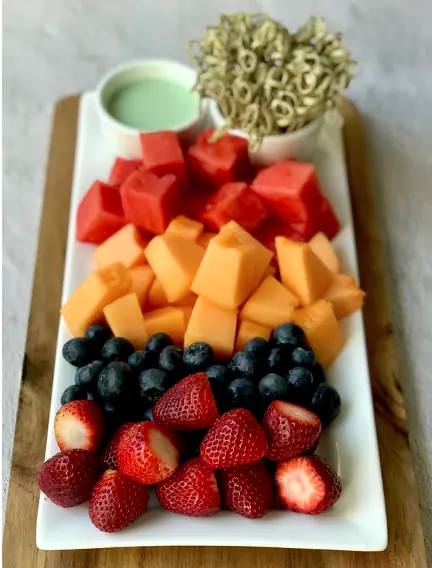
Put it All Together
- Drain lychees, jackfruit, longan and coconut jelly, but reserve the syrup in a large jug.
- Slice lychees in half and jackfruit into strips. Add them, along with the longan and coconut jelly into a large mixing bowl.
- Add in grass jelly cubes and rinsed toddy palm seeds.
- Add in evaporated milk.
- Add in reserved syrup to taste (about 2 cups).
- Finally, drain red rubies from their cold water bath and add them in this mix. Stir to mix everything through then chill well before serving.
")

")