Help & Support 02 9161 8036
Welcome Guest

Recipes: snack

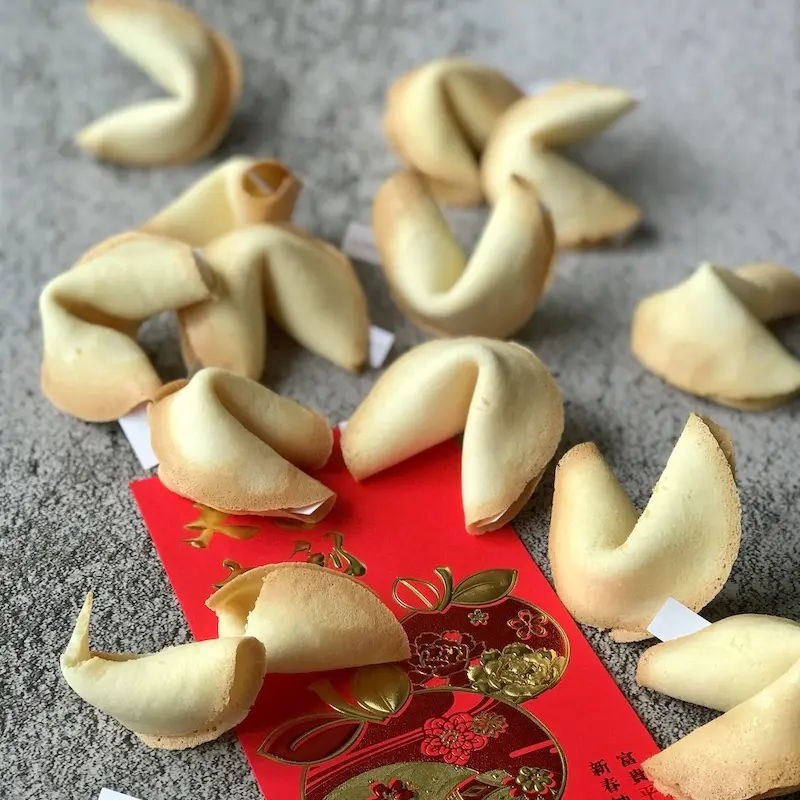
Fortune Cookies

Posted on 15 Jan, 2023
Fortune Cookies

1. Preheat oven to 180C.

2. Whisk the egg whites until soft peaks form. Gradually add in the sugar. When the sugar is dissolved, add in vanilla extract (optional) and whisk to incorporate. Sift in flour and whisk in.

3. Add in melted butter and whisk to form a smooth batter.

4.Line a baking tray with greaseproof paper/silicone mat.
 

5.Dollop on a tablespoon of batter and smooth out to form a thin disc (about 8cm in diameter). Make another disc on the tray, leaving a gap between the two discs.

6. Bake for about 6mins or until the edges are golden.

7. Working quickly, place your paper message in the middle of a disc. Use a spatula to fold the disc in half and to remove the cookie from the tray.

8. Shape the cookie by bending it over the rim of a glass. Place the shaped cookie in a cupcake tin to cool. The tin will help it keep its shape.

9. Continue to make the rest of the cookies.

10. Let the cookies cool completely before serving. We actually like to put all the formed cookies back on a tray for a short stint in the oven (about 4-5mins) to give them more golden glow and further crispness. Again, let them cool completely before serving.

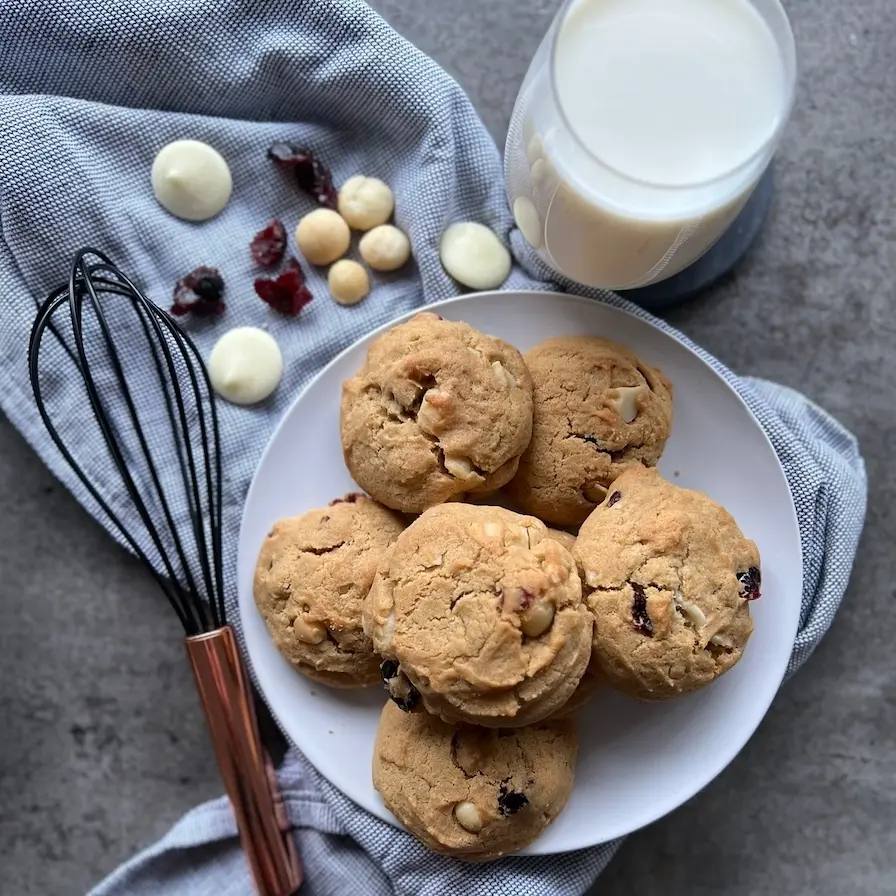
Macadamia, White Choc & Cranberry Cookies

Posted on 20 Dec, 2022
Macadamia, White Choc & Cranberry Cookies

Makes 24 cookies 

Quickest method and little time to make these cookies!

  1. Preheat oven to 180 degrees celsius 
  2. In a medium bowl, combine flour, baking soda and salt; set aside. 
  3. In a mixing bowl, cream together sugar and butter with a wooden spoon. Make sure all the mixture is smooth  
  4. Stir in slightly beaten eggs and vanilla extract 
  5. Add flour mixture until just mixed. Stir in white choc melts, macadamia nuts and dried cranberries.
  6. Use an ice cream scooper or tablespoon to form balls or drop on a baking sheet
  7. Bake in the oven for approximately 12 minutes (use a toothpick to poke the cookie and if if it comes out clean, it’s done) 
  8. Remove from the oven and let cool. 

Enjoy 

Note: We like our cookies slightly salty. If you don’t, you can lessen the salt (1 tsp will suffice). We also don’t like our cookies too sweet, since you get sweetness from the choc chips, but if you prefer a sweeter cookie, you can add another ½ cup sugar

Pro tip: Break down your sugar first so there are less clumps. You can also soften your butter in the microwave for approx 45 seconds if you don't have the time.


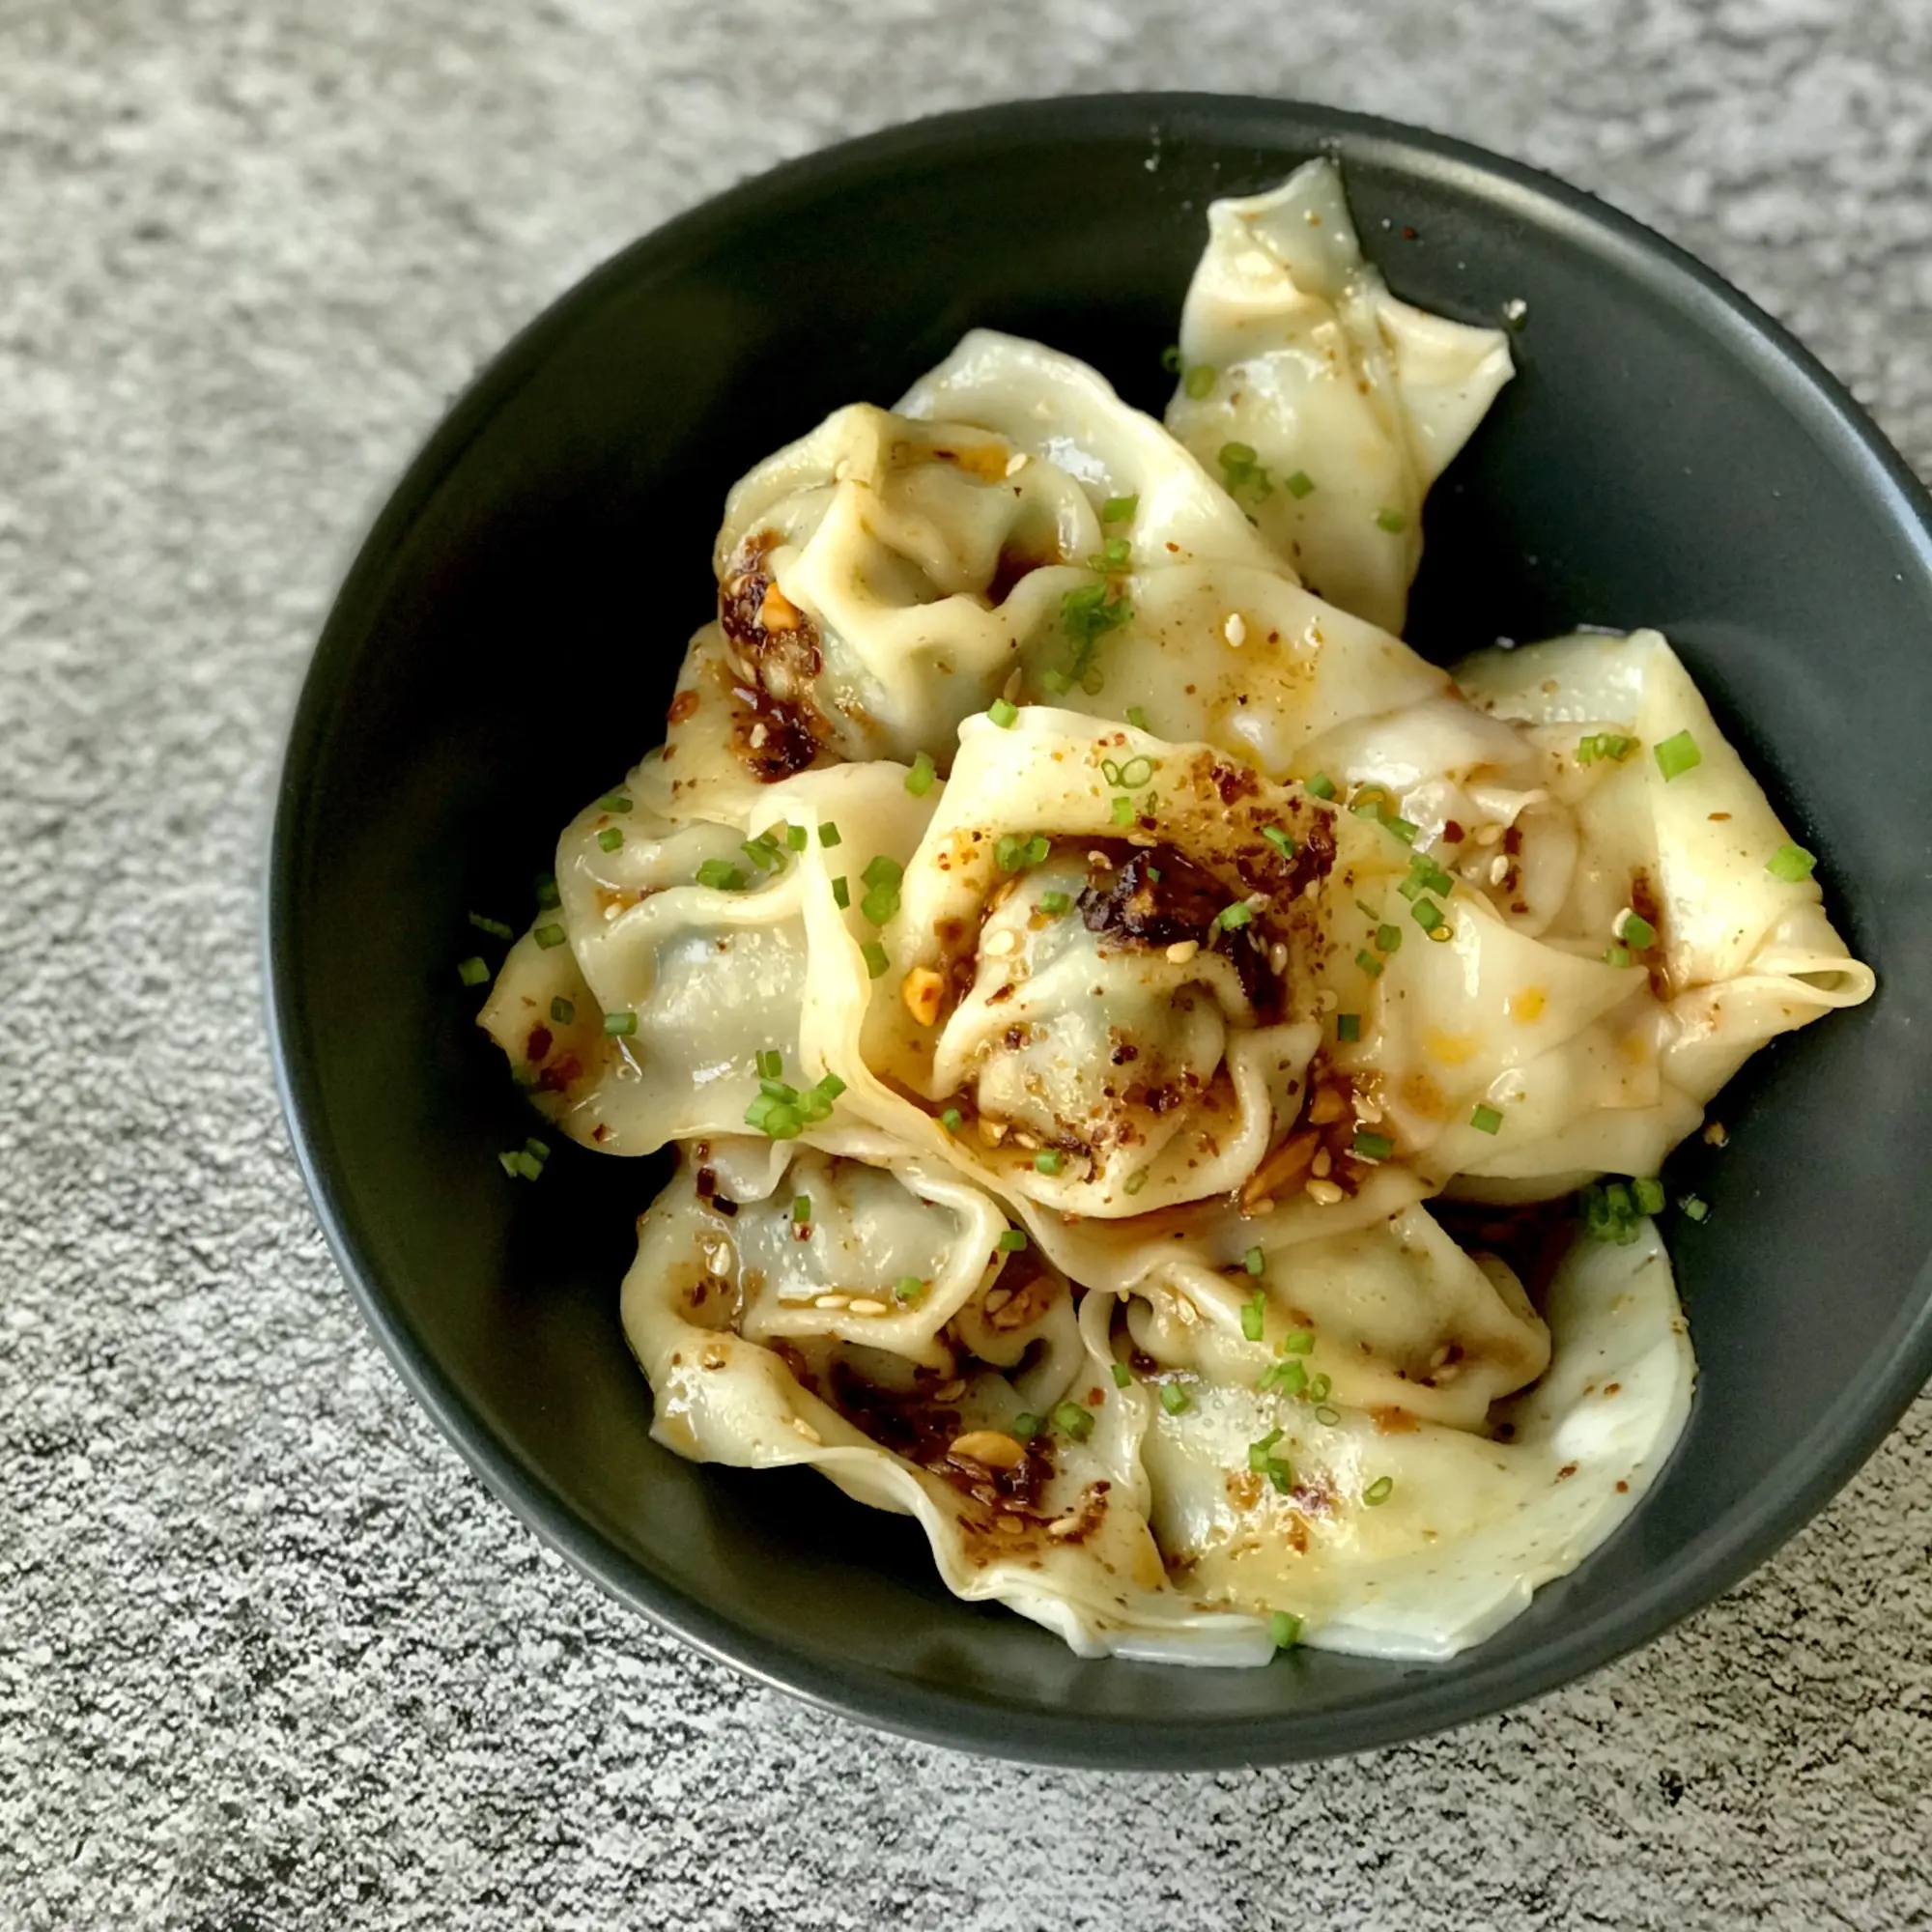
Boiled Dumplings

Posted on 13 Dec, 2022
Boiled Dumplings

Makes approx. 90 dumplings

  1. Mix all the well ingredients together in a large mixing bowl
  2. Fill the wrapper with about a teaspoon of the filling
  3. Use your fingers to place some water around the wrapper and fold it in half and close it into a dome shape
  4. Add some water to the two corners and bring them together
  5. Boil the dumplings in 3 batches for 7-8 minutes (you can have a couple pots going at once to speed things up.
  6. Dip into a vinegar, soy sauce & chilli oil sauce

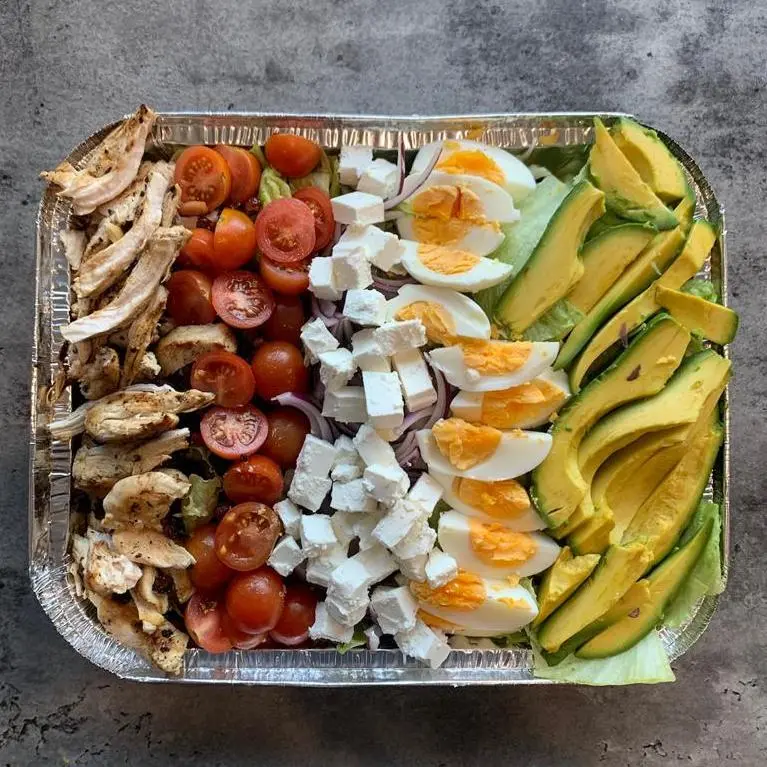
Cobb Salad

Posted on 24 Oct, 2022
Cobb Salad

Chicken: 

1. Heat up oil in a pan on medium heat. When hot add in chicken. Season with salt and pepper on one side. 

2. After 7 minutes, flip and add salt and pepper to the other side for another 7 minutes or until cooked.  Flip over once more so the salt and pepper on the other side transfer into chicken. Slice when cool

Boiled Eggs: 

1. Bring water to boil in a pot. Carefully add in your eggs and boil for 8 minutes. Peel and slice into wedges when cooled 

Assembling: 

3. Add in the lettuce on the bottom as a base, then all other other ingredients. Add dressing when ready to serve and mix. 

For a traditional dressing: 

Combine:

  • 3Tbsp balsamic vinegar 
  • 1 Tbsp dijon mustard
  • 1 garlic clove, finely minched
  • 1/3 extra virgin olive oil
  • Pinch of salt and pepper 

Otherwise this salad works with a creamy mayo dressing, a zesty dressing or even just kewpie mayo. 

Please note: This is not a traditional cobb salad. A traditional one usually consists of blue cheese instead of feta, but this is just our preference. Any cheese works really. Also you can add crispy bacon for that extra texture and I mean... bacon's good on anything right? 

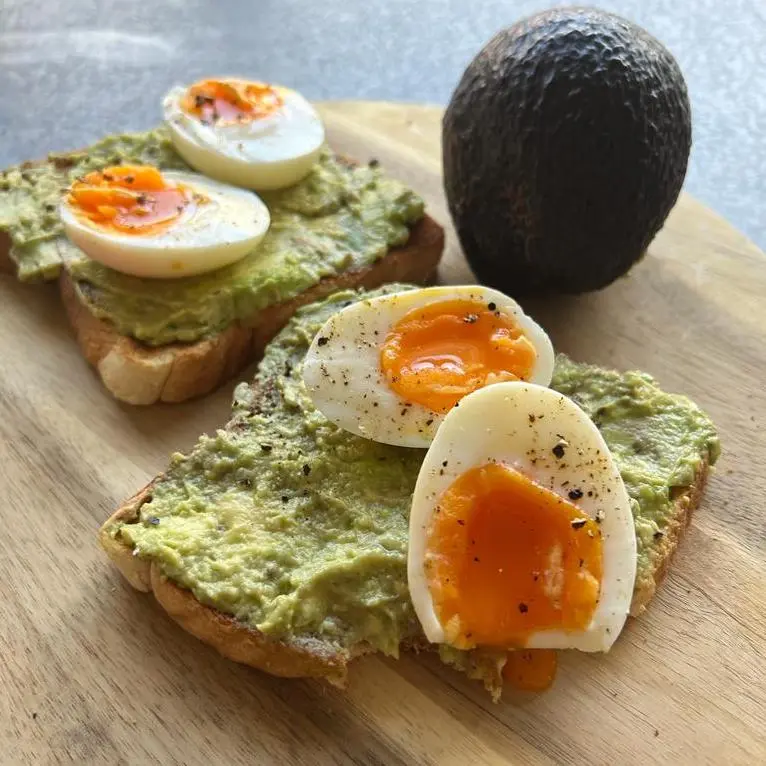
Avocado & Boiled Egg on Toast

Posted on 03 Oct, 2022
Avocado & Boiled Egg on Toast

1. Bring a pot of water to boil 

2. Carefully add in eggs with a splash of vinegar and salt (this helps make it easier to peel. Tip: if you want the yolk to be perfectly centred, gently swirl them while they are boiling. 

3. Prepare an ice bath for the eggs (ice cubes and cold water). 

4. For soft, jammy eggs, take the eggs out after 6.5 minutes and place it straight into the ice bath. 

5. Cut your avocado, scoop into a bowl and mash. Season with salt and pepper. 

6. Peel your boiled eggs once cooled. 

7. Toast your bread, spread your avocado over each slice. 

8. Cut your eggs in half and place them on top of the avo.

Optional: 

9. Top with chilli oil 

Crab Sushi Tray

Posted on 16 Sep, 2022
Crab Sushi Tray

Prep time: 45 min

Cook Time: 0 min

Total Time: 455 min

Serves: 2-4

Prepare your Rice

1. Wash and rinse your rice in tap water.

2. Cook the rice in a rice cooker. (1 Cup of fresh water is a guide for this amount of rice)

3. Transfer your cooked rice to a medium sized bowl and add sushi seasoning. Mix until combinied well. 

4. Spread the rice into the bottom of a baking tray to make one even flat layer.

I used a 20cm x 27cm tray.

Prepare your Crab Mix

1. In a medium sized bow, make the dressing by adding Kewpie mayo, sour cream and yuzu dressing. Mix together until well combined.

2. Separate the imitation crab sticks into strands.

3. Give the crab a rough chop then place into the bowl with the dressing. Mix together until well combined.

Assemble your Tray

1. Layer sliced avocado over the rice.

2. Sprinkle furikake on top of the avocado.

3. Spread the crab mix evenly on top.

4. Sprinkle on furikake

5. Scatter tobiko on top

6. Sprnkle on furikake to garnish.

Simple Okonomiyaki

Posted on 26 Jul, 2022
Simple Okonomiyaki

METHOD
1. Make the dashi by dissolving the dashi powder in the hot water and set aside to cool completely.

2. In a large bowl, add the batter ingredients (including cooled dashi) and mix until well combined. Let it stand for 30mins in the fridge.

3. Take out the batter from the fridge and mix in the cabbage until well combined.

4. Heat a large non-stick skillet and add 2T oil. Add half of the cabbage mix (don’t press down) and spread it around into a large disc in the pan. Cover and cook on med-low heat until the bottom is golden (about 10mins). Add in more oil to the pan if necessary then flip the pancake over and cook the other side until golden (5-10mins). Slide onto a serving plate.

5. Drizzle the tonkatsu sauce on top of your okonomiyaki. Be generous and squeeze out the sauce in a tight zig zag motion. Now drizzle Kewpie mayo across the pancake, perpendicular to tonkatsu sauce. You will end up with a lattice of two sauces.

5. Garnish with red pickled ginger, bonito flakes and spring onions.

6. Repeat to make the next okonomoyaki.

Enjoy!

Serves 2

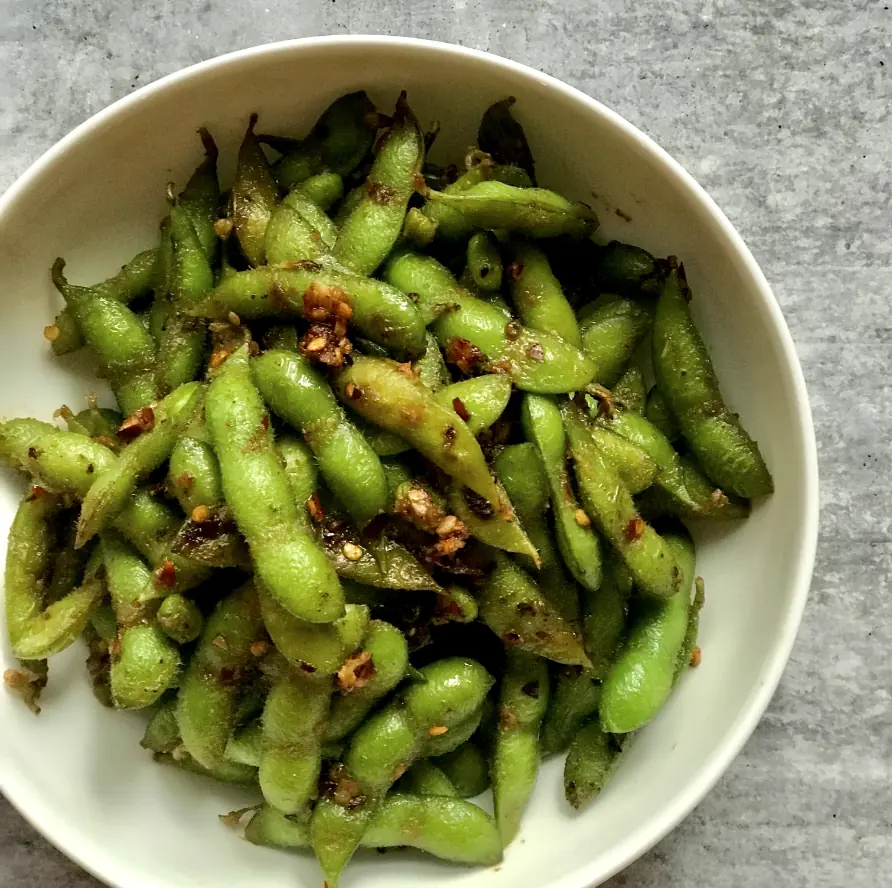
Spicy Miso Butter Edamame

Posted on 18 Jul, 2022
Spicy Miso Butter Edamame

1. In a large wok, add 1/4 cup water and a generous pinch of salt and bring to boil. 

2. Add in frozen edamame pods and toss. 

3. Cook the edamame covered on high for 2 minutes.

4. Give them a stir, then cover again and cook for a further 2 minutes.

5. Remove the lid. Cook and toss for a further 1 minute until all the liquid in the wok has evaporated.

6. Add in chopped garlic and toss.

7. Turn the heat down to medium, make a well in the centre of the wok and add in the miso and butter, and chilli oil.  

8. Give everything a toss/stir so that all the pods are coated in the spicy miso butter.

Enjoy!