 Fruit & Vegetables
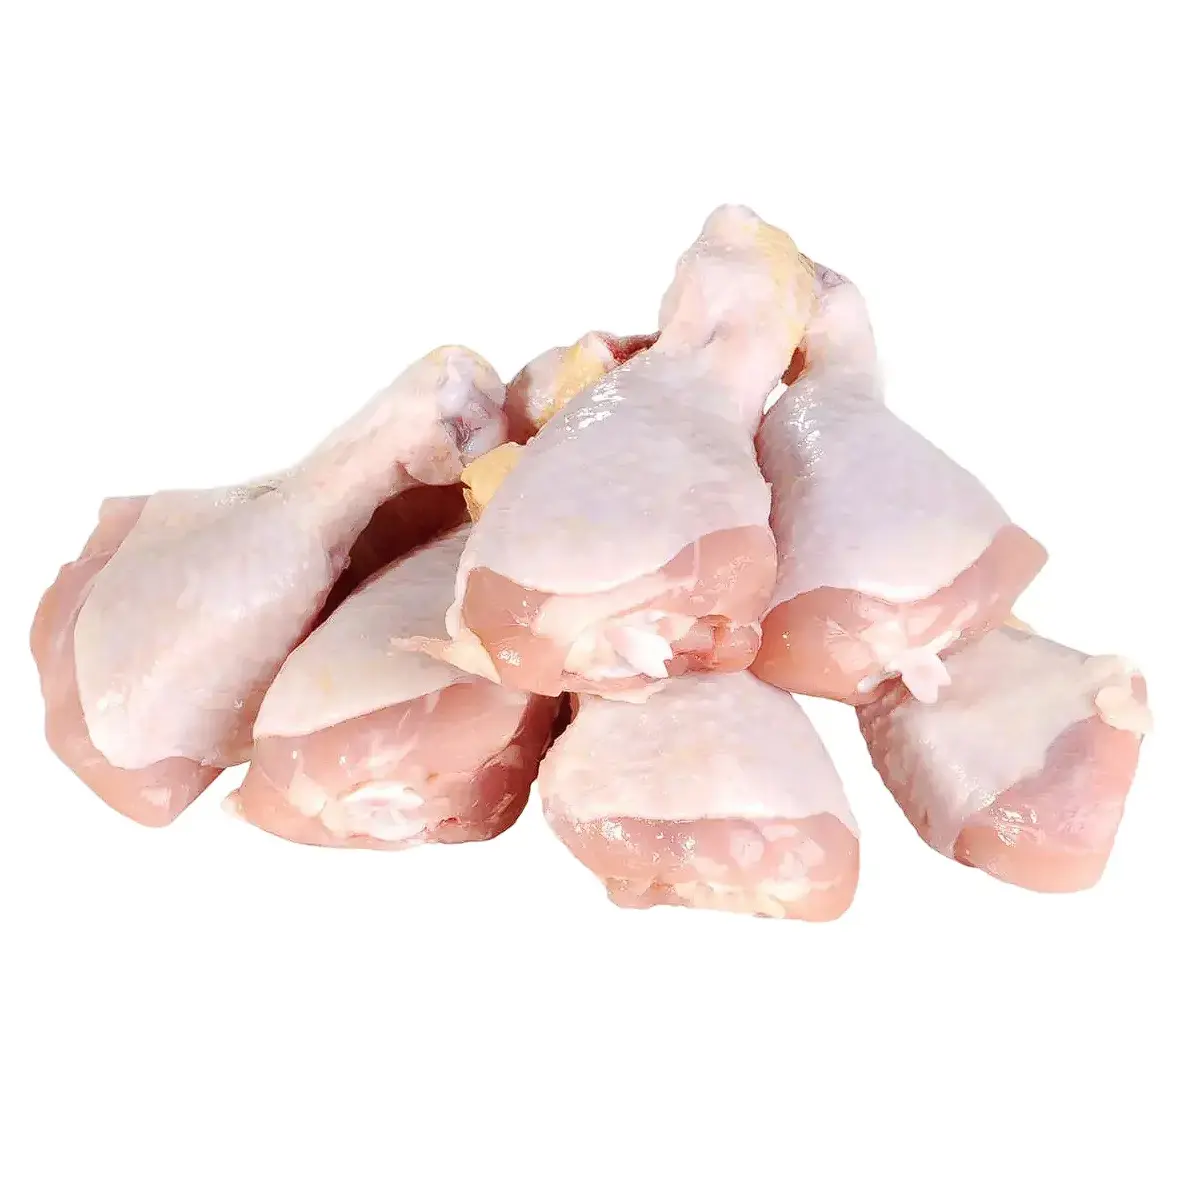 Meat
Meat Bakery
 Egg & Dairy
 Rice, Rice Paper & Noodles
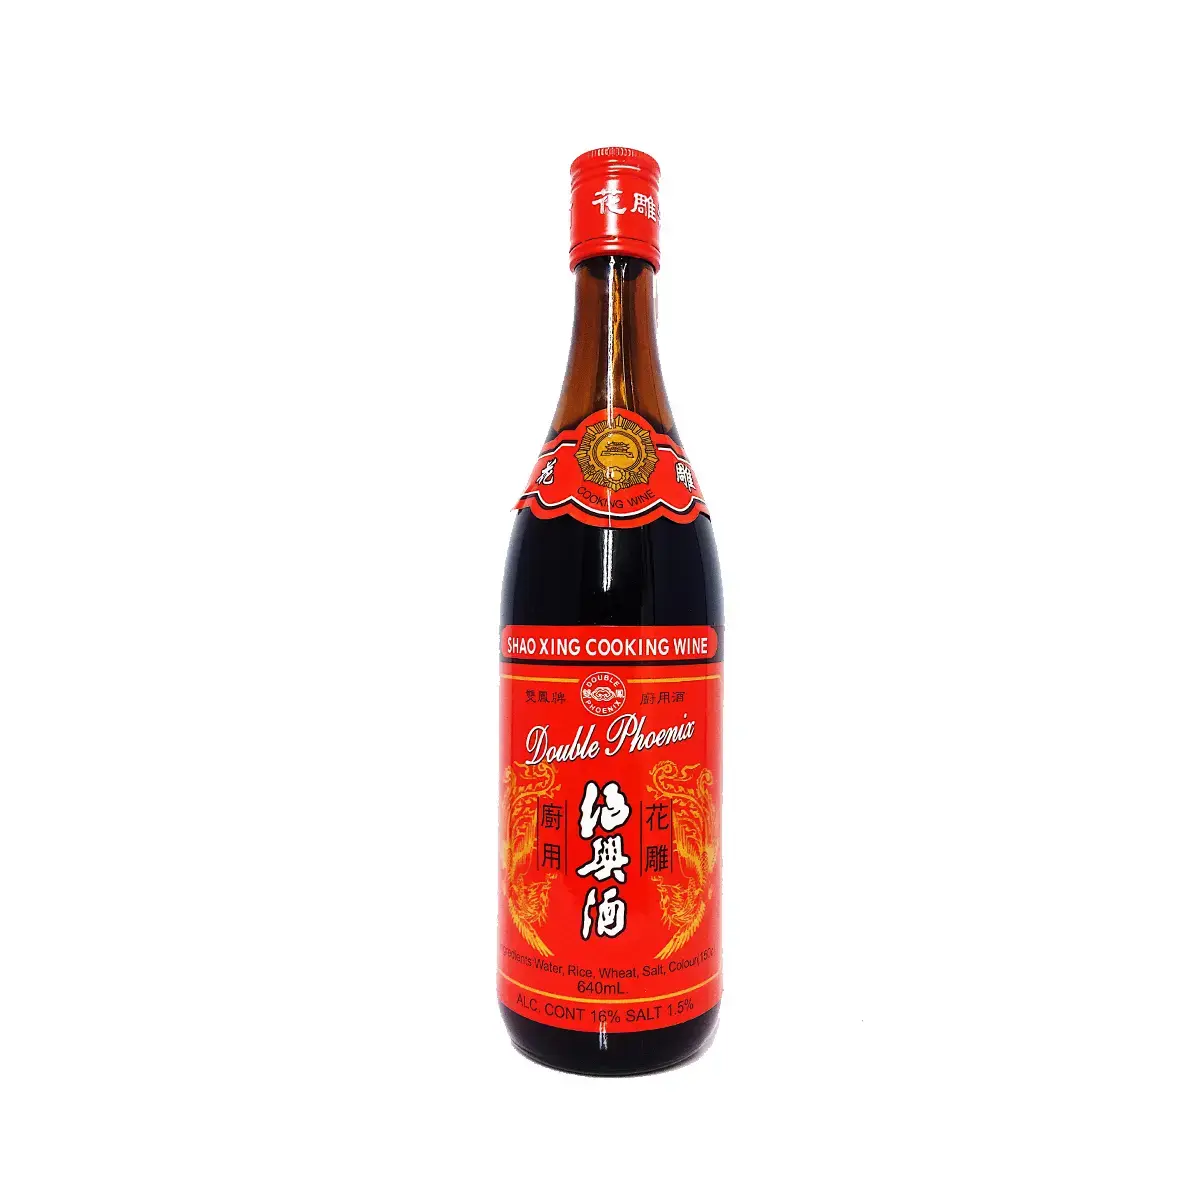 Pantry
 Snacks & Confectionary
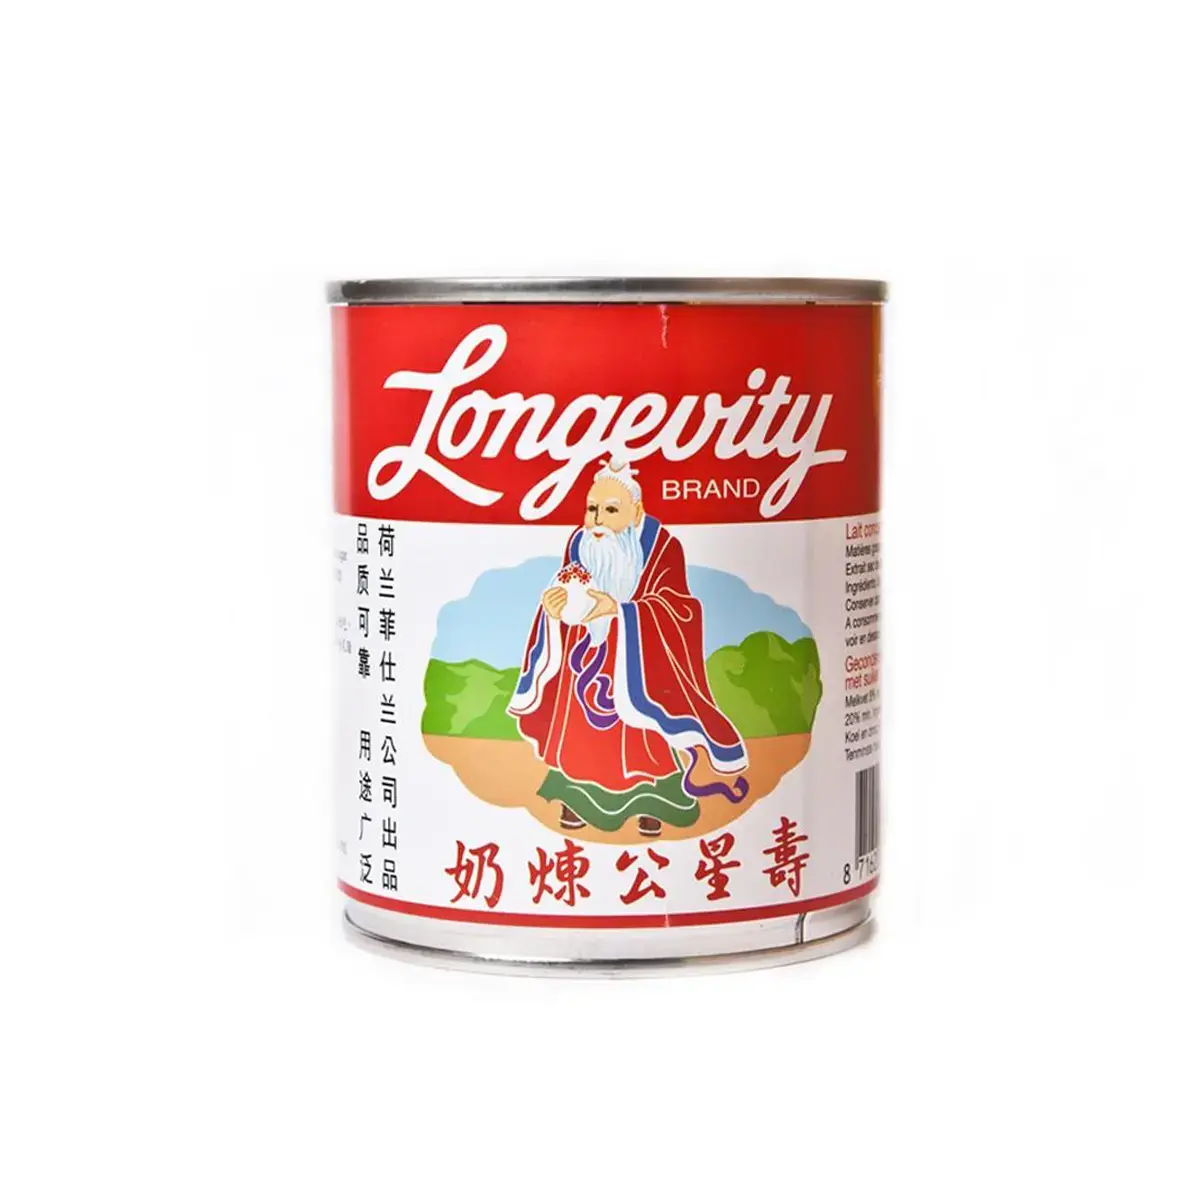 Dessert Ingredients
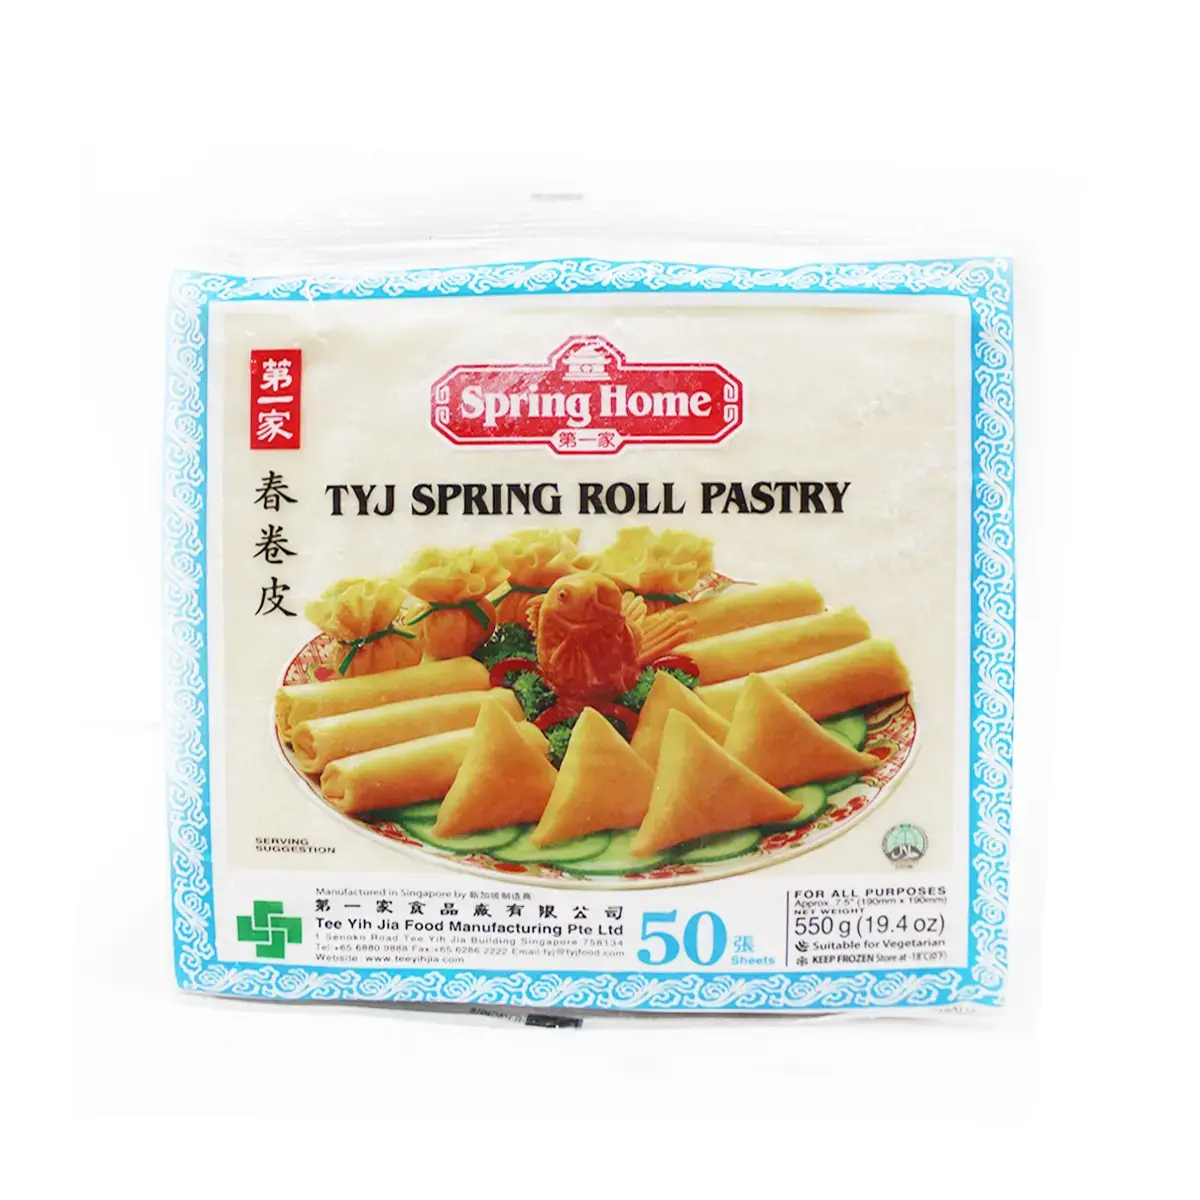 Refrigerated & Frozen
 Drink
Drink Korean/ Japanese
 Household
 Bulk/ Wholesale
Stir fried Kimchi Udon

1. Place udon in a heatproof bowl. Cover with boiled water. Leave on the benchtop while you make the sauce. (The water is needed to just loosen the strands of noodles without breaking them.)
2. In a large skillet or wok, add oil, shallots and garlic. Sauté on medium heat for 1min to release their aroma.
3. Optional: Add in sliced bacon (or other marinated meats of your choice) and continue to stir until the fat is translucent and there is a bit of colour on your bacon
4. Add in gochujang and stir to mix through.
5. Add in kimchi, then honey and stir through.
6. Reserve 1/4 cup of liquid from your noodles. Using a colander, drain away the rest of the water, leaving behind the noodles. Gently give the colander a shake to separate the strands of udon.
7. Add noodles to the work and stir through. Add in reserved noodle water and mix through until the sauce has emulsified. Remove from the heat when the sauce reaches the thickness you desire.
Serve on a plate, garnished with toasted sesame seeds and sliced spring onions. Top with a fried egg and enjoy!


")


